Mastering the Rowing Stroke
Dayton Kelly
Mastering the Rowing Stroke or Tackling Technique on the Rowing Ergometer
If you are anything like me before I started rowing, you are probably thinking to yourself, what is there to know about rowing? It’s easy, you just sit down and pull. And you would be right. It is that simple to make the erg read out numbers to you. Unfortunately, people entering the rowing world with this conception do not last long; they become injured, frustrated, or hit early plateaus in their ability. To combat this, in this article, I am going to use my experiences as a collegiate rower to take you through what the rowing stroke should look like on the ergometer.
Begin With Basics
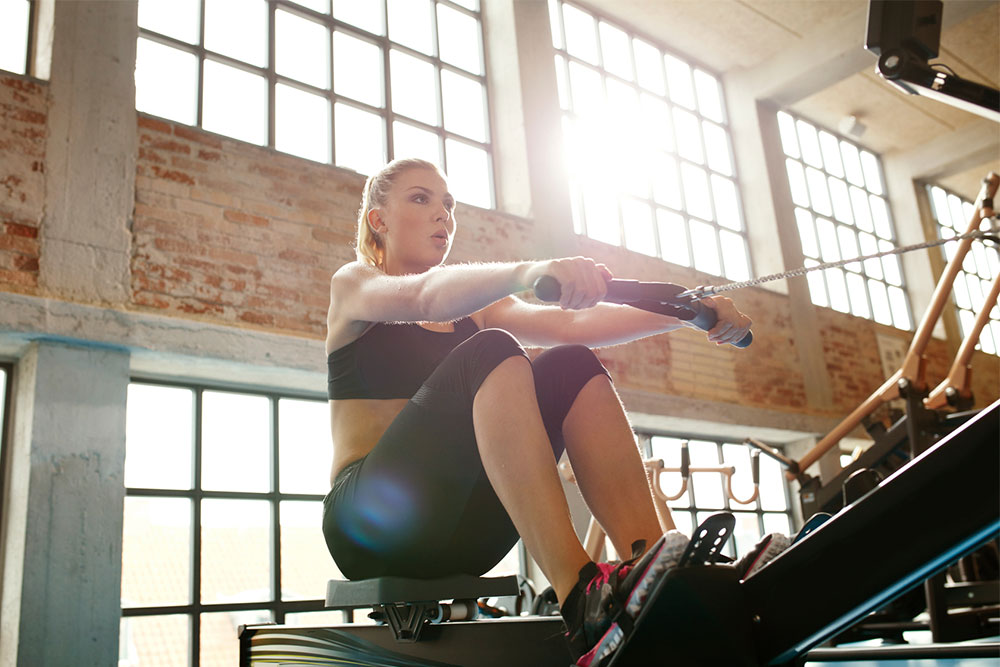
Before we begin, let’s start with the basics. The rowing ergometer is a machine that is used intensively by on-water competitive rowers to improve their fitness. It is useful to these athletes because the stroke on the rowing ergometer near exactly mimics what one would do in a boat. However, it eliminates the need to balance, keep time with crew mates, or worry about finesse blade work. Understanding how this machine relates to its on-water counterpart will be helpful because it will allow you to understand why the machine works the way it does.
Similar to a rowing shell (boat), the erg has a slide (the long metal beam) with a seat and foot stops (where you strap your feet). This component of the erg/boat allows the user to activate their legs during the stroke. Unlike a boat, the erg has a handle, which takes the place of an oar. The handle is attached by a chain to the flywheel. The flywheel is what provides the resistance against which the user pulls. Hence, mimicking the water through which the rower’s blade would be driven. An extra piece of equipment that is included on the erg but not in a rowing shell is the monitor. The monitor gives feedback information regarding how fast the rower is rowing. Now that we have established some of the terminology and functionality of the ergometer, let’s move on to how to row properly.
 Breaking Down the Stroke
The rowing stroke is often broken down into four components: the catch, the drive, the finish, and the recovery. To compare these stages to what would occur in a rowing boat, the catch is the portion of the stroke where the rower puts his blade in the water, the drive is used to push the blade through the water and accelerate the boat, the finish removes the blade from the water, and the recovery brings the rower back to the catch.
Position Yourself
When beginning on the ergometer, you will first sit down on the seat, strap your feet into the foot stops and then assume the position of the finish. In this position you should have your legs fully extended so that the seat is as far from the foot stops as you can make it. Your back should be straight with your core tightened so that the angle between your legs and torso is between 90 and 120 degrees. The suggested degree of back extension varies among coaches, and so the average user should choose an angle within this range that is comfortable for them. Your arms should be flexed and shoulders extended, keeping the handle pulled towards you ensuring it rests just grazing your solar plexus (the area between your left and right ribs where your sternum ends).
Recovery
The next step is the recovery. When beginning the recovery, the rower will first extend their arms and flex their shoulders moving the handle from a position squeezed in against their chest to extended out away from their body. The arms should be straight at this point and the handle should be at a height that is level with the area where the chain from the handle enters the flywheel.
The next part of the body that moves during the recovery is the hips. The hips pivot, moving the trunk over the legs so that the angle between the trunk and the legs changes from its original 90 to 120 degrees to 70 to 90 degrees with the legs. Think of this motion as bending over with a straight back and straight legs. It is essential that the back remains straight as many back injuries that plague rowers stem from the mistake of arching their back at this point of the stroke.
After the torso has reached this point of flexion, the rower will bend their legs allowing their torso and with it, the handle, to move towards the flywheel. Once the shins are perpendicular to the floor, the rower has reached the catch. If you are doing this properly, at this point your knees should be touching your chest, your heels should be still touching or just slightly off the foot stops, your back should be straight but leaning forward, and the handle should be extended away from the body. If you have reached this point, you are ready for the drive.
The Drive
The drive is the part of the stroke where the rower will be pushing against the resistance of the flywheel. It proceeds like the recovery in reverse. First the rower will push with their legs keeping their trunk leaned forward and straight and their arms extended. In this part of the stroke, the legs should be the only part of the body contracting to move the flywheel. Once the legs are fully extended, the hips become active, swinging the torso back to 90 to 120 degrees. The arms should stay extended until the torso is done swinging at which point the rower drives their elbows back squeezing the handle in. After squeezing the handle in, you have returned to the finish, completed the stroke, and are ready to begin the next one.
Takeaway Tips:
Rowing with the technique outlined above will not only make your rowing experience safer but also more enjoyable. It is advisable when starting out to practice the order of the movements in the stroke — arms out, body swing in, legs bend, legs extend, body swing out, arms — as doing these movements separately and in order is a task even advanced rowers struggle with. Be sure to check out the extra tips listed below and have fun training!
Final Notes:
- Keep your grip on the handle loose. Tight forearms are a common complaint of new rowers.
- Keep your head up so that your chin is parallel with the floor throughout the stroke. This keeps your airway open, allowing you to row for longer.
- Do not bounce the handle off your chest when squeezing in at the finish. This area will become bruised and sore.
- If you cannot complete the angles listed in this article, simply work within your range of motion and work on your flexibility after completing your workout.
You Might Like:

